Finishing and Staining Wood Projects
Key Takeaways
- Understanding different wood finishes is essential for enhancing the beauty of your projects.
- Choosing the right stain can significantly affect the final appearance of your wood piece.
- Proper preparation and application techniques are crucial for achieving a professional look.
- Experimenting with samples before committing to a finish can save time and resources.
Finishing and staining wood projects is not just about aesthetics; it's also about protecting and enhancing the longevity of your handmade creations. Whether you're a beginner or an experienced woodworker, understanding the nuances of wood finishes can help you elevate your craft. In this comprehensive guide, we will explore essential tips, techniques, and recommended products for finishing and staining your wood projects.
Understanding Wood Finishes
Wood finishes come in various types, each serving different purposes. Hereâs a brief overview:
| Type of Finish | Description | Best Used For |
|---|---|---|
| Oil-based finishes | Penetrates the wood to enhance grain and provide a durable finish. | Furniture and high-traffic items. |
| Water-based finishes | Dries quickly and has low odor; easy to clean with soap and water. | Indoor projects and quick applications. |
| Shellac | A natural finish that dries quickly and provides a warm glow. | Fine furniture and crafts. |
| Lacquer | Provides a hard, durable finish that is resistant to scratches. | Cabinetry and intricate details. |
Choosing the Right Stain
The choice of wood stain can dramatically influence the appearance of your project. Here are some key considerations:
- Type of Wood: Different woods absorb stains differently. Test a small area beforehand.
- Desired Color: Be clear on the shade you want; consider using stain samples.
- Transparency: Stains come in various opacitiesâselect one that enhances or obscures the grain.
Popular Types of Wood Stains
| Stain Type | Characteristics |
|---|---|
| Gel Stain | Thick consistency that sits on top of the wood, ideal for vertical surfaces. |
| Liquid Stain | Easy to apply and penetrates the wood; suitable for most projects. |
| Water-based Stain | Quick drying and low odor; can raise the grain of the wood. |
| Oil-based Stain | Longer drying time but provides rich color and durability. |
Preparation for Finishing
Proper preparation is vital for a successful finish. Follow these steps before applying any stain or finish:
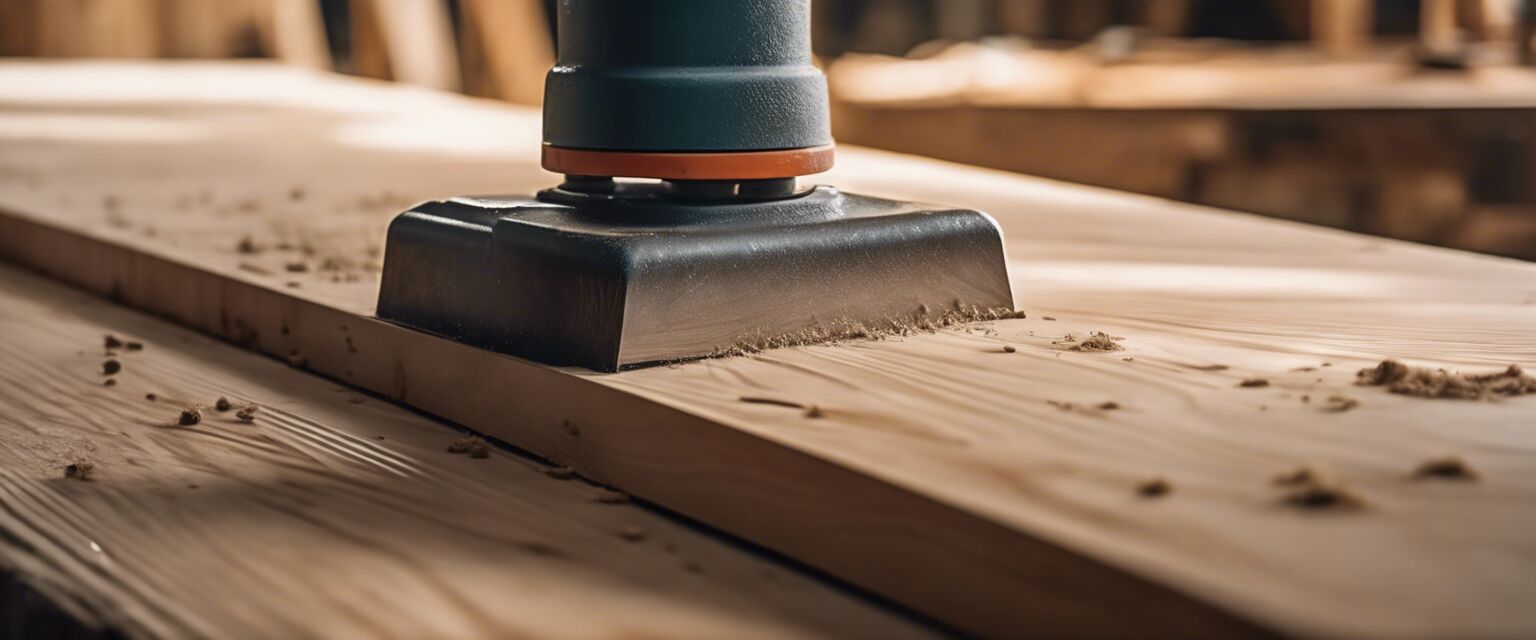
- Sand the Surface: Start with coarse sandpaper and progress to finer grits.
- Clean the Wood: Remove dust and debris with a damp cloth or vacuum.
- Test Stains: Always test stains on a scrap piece of wood to preview the final look.
Application Techniques
Applying stain and finish requires technique to achieve the best results. Here are some tips:
- Use the Right Tools: Brushes, rags, or foam applicators can yield different results.
- Apply Evenly: Work in sections to prevent lap marks and ensure even coverage.
- Follow Manufacturer Instructions: Each product may have specific application guidelines.
Finishing Techniques
After staining, you may want to apply a protective finish. Here are some common techniques:
Tips for Beginners
- Start with smaller projects to practice your skills.
- Keep a clean workspace to avoid messy finishes.
- Be patient; allow each layer to dry completely before applying the next.
Common Mistakes to Avoid
- Skipping the sanding step can lead to an uneven finish.
- Applying too much stain can cause blotchiness.
- Not testing on scrap wood can result in unwanted colors or finishes.

Maintenance of Finished Wood
Proper maintenance can extend the life of your finished wood projects:
- Regularly dust your pieces to avoid the buildup of dirt.
- Use coasters and placemats to protect surfaces from heat and moisture.
- Reapply finishes as needed to maintain appearance.
Pros
- Enhances the natural beauty of the wood.
- Provides protection against wear and damage.
- Allows for customization with a variety of stains and finishes.
Cons
- Can be time-consuming and requires patience.
- Improper application can lead to unsatisfactory results.
- Some products may emit strong odors and require good ventilation.
Conclusion
Finishing and staining wood projects is an art that requires knowledge and practice. By understanding different types of finishes, choosing the right stains, and following proper application techniques, you can create stunning pieces that will last a lifetime. Donât forget to explore our other categories for essential finishing products, wood types and materials, and woodworking tools to enhance your woodworking experience.

