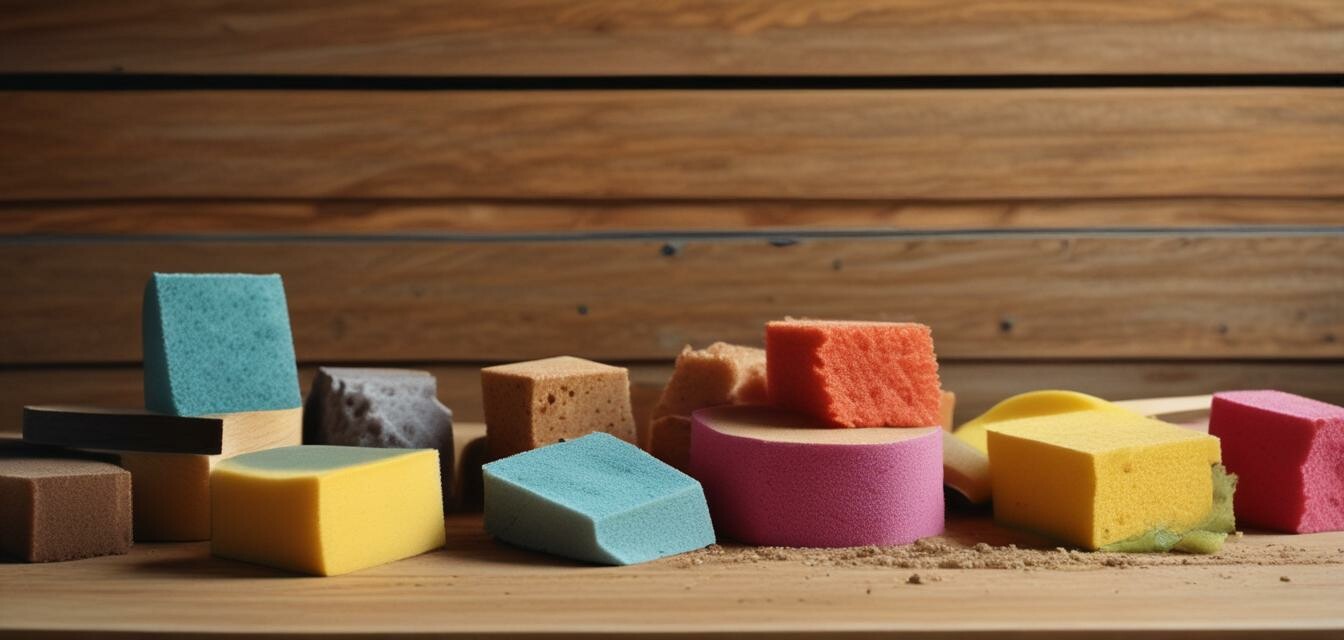
Choosing the Right Sanding Sponge for Your Project
- Understand different types of sanding sponges based on their grit and material.
- Choose the right sponge for your specific woodworking project to achieve the best results.
- Identify essential features to consider when selecting sanding sponges, such as shape and flexibility.
When it comes to woodworking, achieving a flawless finish is essential, and the right sanding sponge can make all the difference. With various types of sanding sponges available, it's crucial to understand their properties and how they suit different tasks. In this article, we'll guide you through choosing the best sanding sponge for your needs!
Types of sanding sponges
Sanding sponges come in many shapes, sizes, and abrasive materials. Here are the main types:
| Type | Description | Best Used For |
|---|---|---|
| Block sanding sponges | Rectangular or square sponges suitable for flat surfaces. | Sanding flat surfaces like tables and cabinets. |
| Cylindrical sanding sponges | Curved sponges that fit around rounded edges. | Getting into tight spaces or curves. |
| Detail sanding sponges | Smaller sponges designed for intricate areas. | Sanding ornate designs and fine details. |
Understanding grit levels
The grit level indicates the coarseness of the abrasive material. The lower the grit number, the coarser the sponge. Here's a quick reference:
| Grit Level | Usage |
|---|---|
| 60-80 grit | Heavy sanding, removing material quickly. |
| 120-150 grit | General sanding, smoothing out surfaces. |
| 220 grit and above | Finishing, providing a smooth surface pre-stain or coating. |
Key features to consider
When selecting a sanding sponge, consider the following features:
- Material: Different materials provide varying flexibility and durability.
- Shape: Choose a shape that fits your project needs, whether flat or curved.
- Durability: Some sponges last longer than others—choose based on the frequency of use.
- Flexibility: A flexible sponge is essential for sanding intricate patterns.
Using sanding sponges effectively
Here are some tips on how to use sanding sponges for the best outcomes:
Beginner tips for using sanding sponges
- Always sand in the direction of the wood grain to avoid scratches.
- Start with a coarser grit and progressively move to finer grits for a smooth finish.
- Light pressure is key; let the sponge do the work instead of forcing it.
- Regularly check your work to avoid over-sanding and damaging the wood.
Common uses for sanding sponges
Sanding sponges are versatile and can be used for various projects. Here are some common applications:
- Smoothing painted surfaces before applying a new coat.
- Shape and finish wooden toys for a polished look.
- Removing rough edges on furniture pieces.
- Creating a distressed look on wood by sanding specific areas selectively.
Conclusion
Choosing the right sanding sponge for your woodworking project can greatly impact the outcome. Consider the type, grit level, and features that align with your needs. For more engaging content and projects, check out our Buying Guides section.
Pros
- Versatile for various sanding tasks.
- Available in multiple shapes and grits.
- Cost-effective and easy to use.
Cons
- May wear out faster than traditional sandpaper.
- Limited grits may not suit all projects.
By following these guidelines, you'll be well-prepared to select the right sanding sponge and elevate the quality of your woodworking projects. For a deep dive into woodworking materials, visit our Wood Types and Materials. Happy sanding!


