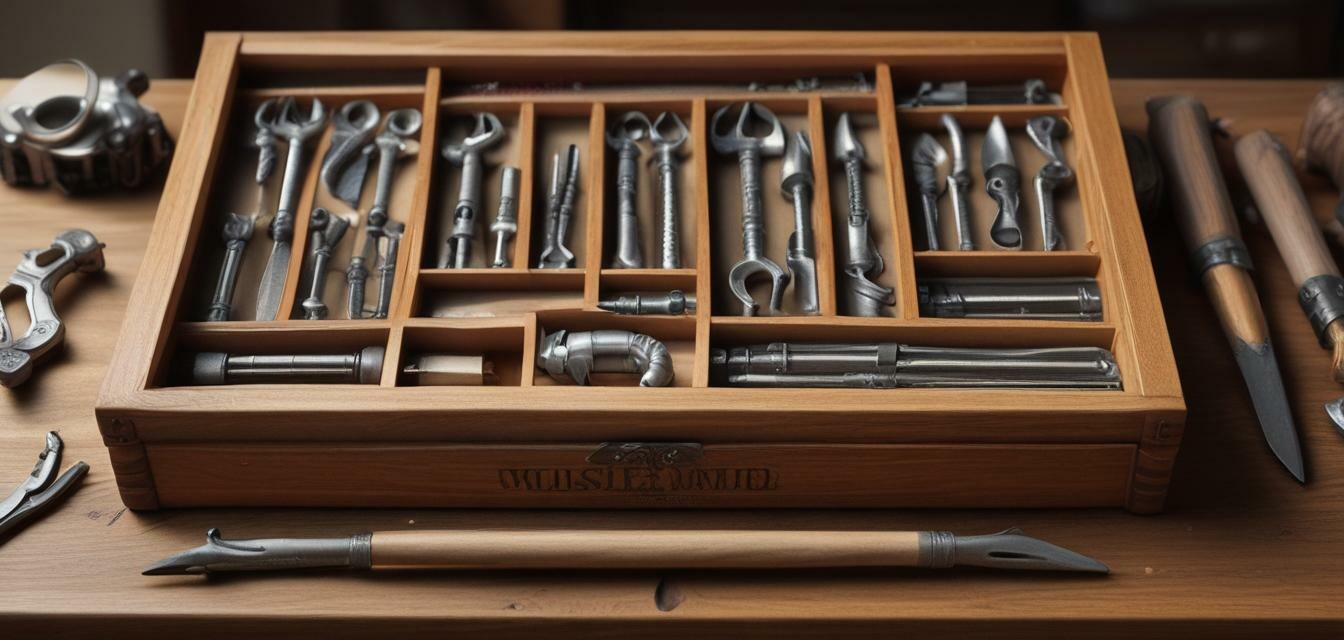
Building a Wooden Storage Box: A Step-by-Step Guide
Key Takeaways
- This guide provides step-by-step instructions for building a wooden storage box.
- Understand materials, tools, and techniques needed for a successful project.
- Perfect for beginners and seasoned woodworkers alike.
- The completed box can be used for organizing tools, craft supplies, or as decorative storage.
Building a wooden storage box can be a rewarding DIY project that helps you organize your workspace while honing your woodworking skills. In this guide, we will take you through each step of the process, from choosing the right materials to the final touches. Whether you want to store your tools or crafts, this wooden storage box will serve you well.
Materials Needed
Gather the following materials to get started:
- 3/4" plywood (for the box sides, bottom, and lid)
- Wood glue
- Wood screws
- Sandpaper (various grits)
- Wood finish or paint (optional)
Tools Required
Ensure you have the following tools on hand:
- Table saw or circular saw
- Drill
- Measuring tape
- Square
- Clamps
Step-by-Step Instructions
Step 1: Measuring and Cutting the Wood
Start by measuring your desired dimensions for the storage box. A common size is 24" long by 12" wide and 12" tall. Following these measurements, cut the plywood into the necessary pieces:
| Piece | Dimensions | Quantity |
|---|---|---|
| Sides | 12" x 12" | 2 |
| Bottom | 24" x 12" | 1 |
| Front and Back | 24" x 12" | 2 |
| Lid | 24" x 12" | 1 |
Step 2: Assembling the Box
Using wood glue and screws, attach the sides to the bottom piece first. Ensure that everything is square and flush. Then, attach the front and back pieces to form the box structure.
Step 3: Adding the Lid
For the lid, you can either attach it directly or use hinges for a more functional design. If you're using hinges, make sure they are secured to the back of the box.
Step 4: Sanding the Edges
Once the assembly is complete, use sandpaper to smooth any rough edges. This will not only improve the appearance but also ensure safety when handling the box.
Step 5: Finishing Touches
You can choose to paint or stain the wooden storage box to match your decor. Applying a finish will enhance the wood's natural beauty and protect it from wear and moisture.
Helpful Resources
For more woodworking tips and project ideas, check out the following articles:
- Advanced woodworking techniques
- Best woodworking tools for beginners
- Easy handmade toys & puzzles
- Finishing and staining wood projects
- Wood types and their uses
Conclusion
By following this step-by-step guide, you now have a beautifully crafted wooden storage box. This project not only enhances your workshop organization but also allows you to practice your woodworking skills. Dive into the world of woodworking with confidence, and make sure to explore more projects on our site!
The Complete Book of Woodworking
Step-by-step guide to essential woodworking skills, techniques, tools, and tips. Over 40 easy projects included!
Learn MoreEasy Handmade Toys & Puzzles
35 wood projects and patterns compiled for beginner to intermediate woodworkers.
Learn More


