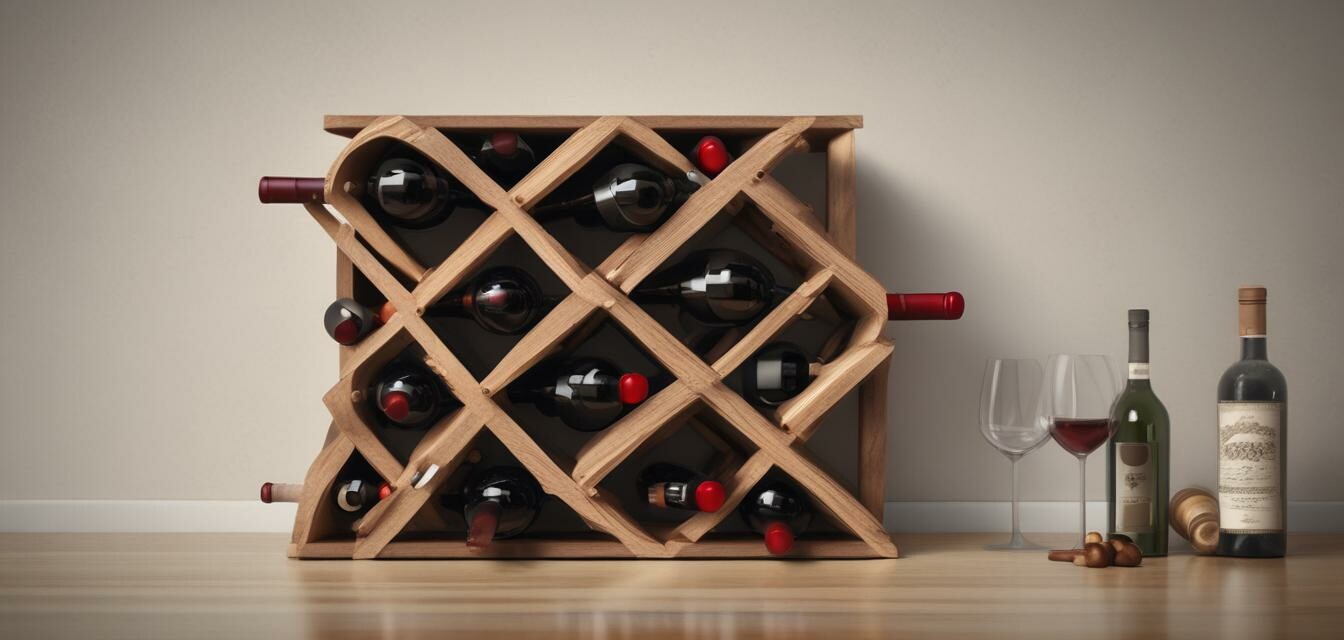
Building a Wooden Wine Rack: A Step-by-Step Guide
Key Takeaways
- Understand the materials and tools necessary for building a wooden wine rack.
- Follow detailed step-by-step instructions for construction.
- Discover design options that can fit your home decor.
- Learn about finishing techniques to enhance the wooden surface.
- Explore additional resources for woodworking plans and tips.
Creating a stylish wooden wine rack for your home is not only a rewarding project, but it adds functionality and aesthetic appeal to your space. This guide will walk you through the entire process, from choosing materials to putting the final touches on your new wine storage solution.
Materials Needed
| Material | Description |
|---|---|
| Wood boards | Select high-quality hardwood like oak or maple for sturdiness and elegance. |
| Nails and screws | Use galvanized or stainless steel for durability. |
| Wood glue | For additional joint strength. |
| Finish | Choose a wood stain or lacquer that matches your desired decor. |
Essential Tools Required
- Measuring tape
- Power drill
- Table saw or circular saw
- Chisel (such as the Hurricane 4 Piece Wood Chisel Set)
- Sanding block or electric sander
Step-by-Step Instructions
Step 1: Plan Your Design
Decide on the size and shape of your wine rack. Consider how many bottles you need to store. Sketch a plan that includes measurements.
Step 2: Gather and Prepare Materials
Cut your wood to size according to your design. Sand the edges to ensure smooth surfaces.
Step 3: Assemble the Base
Begin by constructing the base. Use wood glue and screws to secure the pieces together. For added strength, consider using the chisel set to create dovetail joints.
Step 4: Add the Vertical Supports
Attach vertical pieces to the sides of the base. Make sure they are level, as this will impact the stability of the entire rack.
Step 5: Create the Wine Bottle Holders
Design the holders based on your preferred style (single slot or wider spaced). If using a circular design, a hole saw attachment can help you cut perfect circles.
Step 6: Final Assembly
After the holders are cut and sanded, install them into the vertical supports. Use a level to ensure everything is even.
Step 7: Sanding and Finishing
Sand the entire surface to ensure there are no rough spots. Apply your chosen finish to enhance the wood's beauty and protect it from damage.
Finishing Touches
Wait for the finish to dry completely before placing any bottles in the rack. This allows for a smoother transition and prevents damage to your wine bottles.
Design Options
Here are a few design options you can consider for your wooden wine rack:
- Wall-mounted designs for saving space.
- Box-style racks that can double as furniture.
- Rustic styles using reclaimed wood for a vintage feel.
Helpful Resources
For more detailed guidance, check out the following resources:
- Woodworking Plans and Blueprints
- Best Woodworking Tools for Beginners
- Advanced Woodworking Techniques
- Finishing and Staining Wood Projects
- DIY Woodworking Project Kits
Easy Handmade Toys & Puzzles
A fantastic resource featuring 35 wood projects and patterns perfect for beginner to intermediate woodworkers.
Explore NowConclusion
Building a wooden wine rack is not only an accessible woodworking project but also allows you to showcase your favorite wines in an elegant and practical manner. With the right materials, tools, and a bit of creativity, you can create a beautiful piece that enhances your home decor.


