Crafting Wooden Picture Frames
Key Takeaways
- Crafting wooden picture frames adds a personal touch to your home decor.
- Choose the right materials and tools to ensure a quality finish.
- Follow step-by-step instructions for different styles of frames.
- Personalize your frames with various stains, paints, or decorations.
- Explore DIY kits for simpler crafting opportunities.
Woodworking is a rewarding hobby that allows you to create beautiful and functional items for your home. One such rewarding project is crafting personalized wooden picture frames. These frames not only showcase your cherished memories but also serve as fantastic gifts for friends and family. In this article, we will provide you with a comprehensive guide on how to craft wooden picture frames, covering everything from materials to finishing touches. Let’s get started!
Why Craft Wooden Picture Frames?
Crafting your own picture frames brings a unique charm and personal touch to your decor. Here are a few reasons to consider making your own wooden frames:
- Customization: Tailor the size, shape, and finish to your preference.
- Cost-Effective: Save money compared to buying pre-made frames.
- Satisfaction: Enjoy the pride of creating something with your own hands.
Materials Needed
Before you start crafting, gather the necessary materials:
| Material | Description |
|---|---|
| Wood | Choose a type of wood that suits your design (e.g., pine, oak, or cedar). |
| Wood Glue | A strong adhesive to bond wooden pieces together. |
| Wood Finish/Sealer | Protect the wood and enhance its appearance. |
| Clamps | To hold the frame pieces securely while drying. |
| Sandpaper | For smoothening the edges and surfaces of the wood. |
| Picture Hanging Hardware | For attaching the finished frame to a wall. |
Essential Tools
In addition to materials, having the right tools is crucial for a successful project. Here’s a list of tools you may need:
- Saw (hand saw or power saw)
- Measuring tape
- Paintbrush (for applying finish)
- Drill (for making holes for hanging hardware)
- Square (to ensure straight edges)
Steps to Craft Your Frame
Follow these simple steps to craft your own wooden picture frame:
- Choose Your Design: Decide on the size and style of your frame.
- Cut the Wood: Using a saw, cut the wood to size based on your chosen design.
- Smooth the Edges: Use sandpaper to smooth any rough edges.
- Assemble the Frame: Apply wood glue to each joint and secure with clamps.
- Attach Hanging Hardware: Once dry, attach hardware for hanging.
- Finish the Frame: Apply your chosen finish or paint.
Personalization Ideas
Make your frames uniquely yours by adding personal touches:
- Staining: Use wood stains to bring out the natural grain of the wood.
- Paint: Paint the frame in your favorite colors for a vibrant look.
- Decorative Elements: Consider adding embellishments like twine, beads, or paint designs.
Product Recommendations
To help you get started, here are some products you might need:
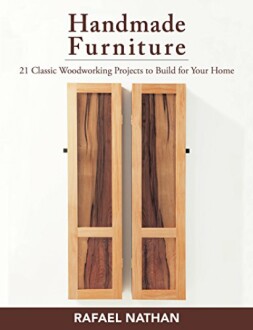
Handmade Furniture: 21 Classic Woodworking Projects to Build for Your Home
This resource provides a variety of woodworking projects, including detailed instructions perfect for your next frame-making venture.
Learn MoreTips for Beginners
Here are a few tips to ensure a smoother crafting experience:
- Start with simple designs before moving on to more complex frames.
- Measure twice, cut once to avoid mistakes.
- Don't rush the glue drying process for stronger joints.
Finishing Touches
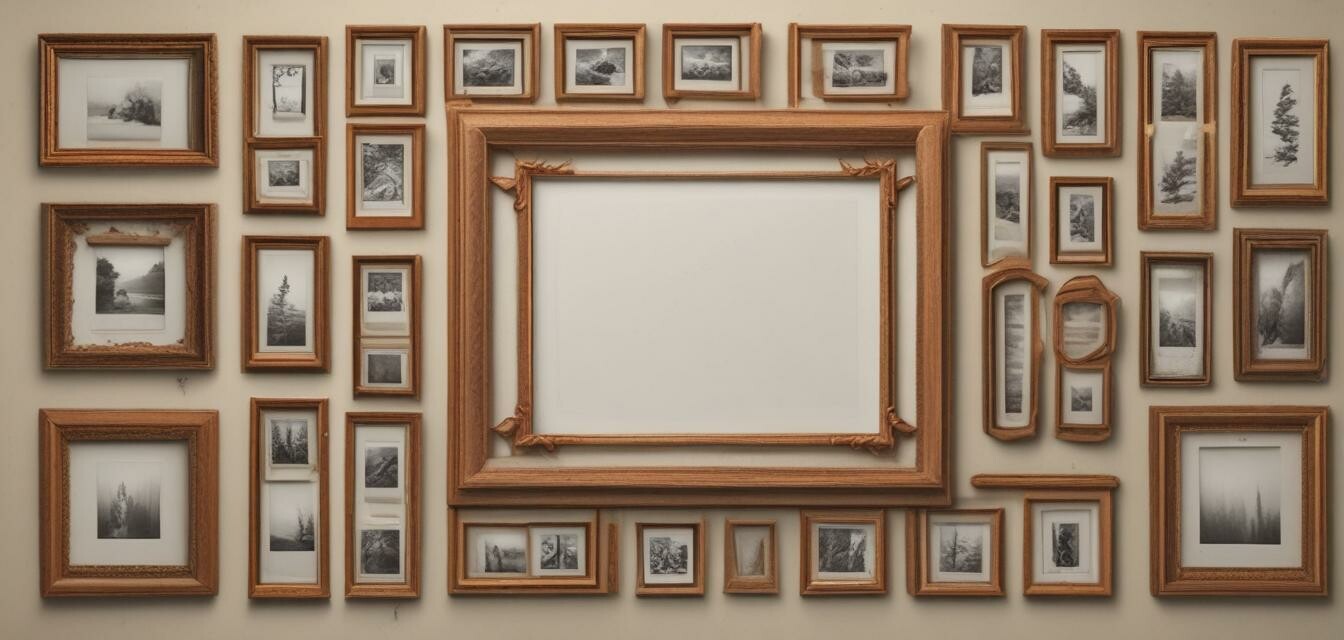
Once your frame is assembled and the finish is set, it’s time to display your favorite picture! You can create a themed collage of frames or decorate your entryway with a singular standout piece. Whatever you choose, your handcrafted frame will certainly enhance any space.
Looking for More Woodworking Ideas?
For more projects that inspire creativity and skill enhancement, explore our DIY Project Ideas category, featuring a wide array of woodworking endeavors tailored for different skill levels.
Conclusion
Crafting wooden picture frames is a delightful way to preserve memories while adding a personal touch to your decor. With the right materials, tools, and a spark of creativity, you can make frames that both you and your loved ones will cherish for years to come. Happy crafting!
Pros
- Highly customizable frames that suit your taste.
- Cost-effective and rewarding DIY project.
- Perfect gift for friends and family.
Cons
- Requires some woodworking skills.
- Initial setup can be time-consuming.
Explore More Woodworking Tools
If you’re interested in expanding your woodworking arsenal, check out our Woodworking Tools page for tools that can enhance your crafting experience, such as XFasten Double Sided Woodworking Tape for easy templates.


