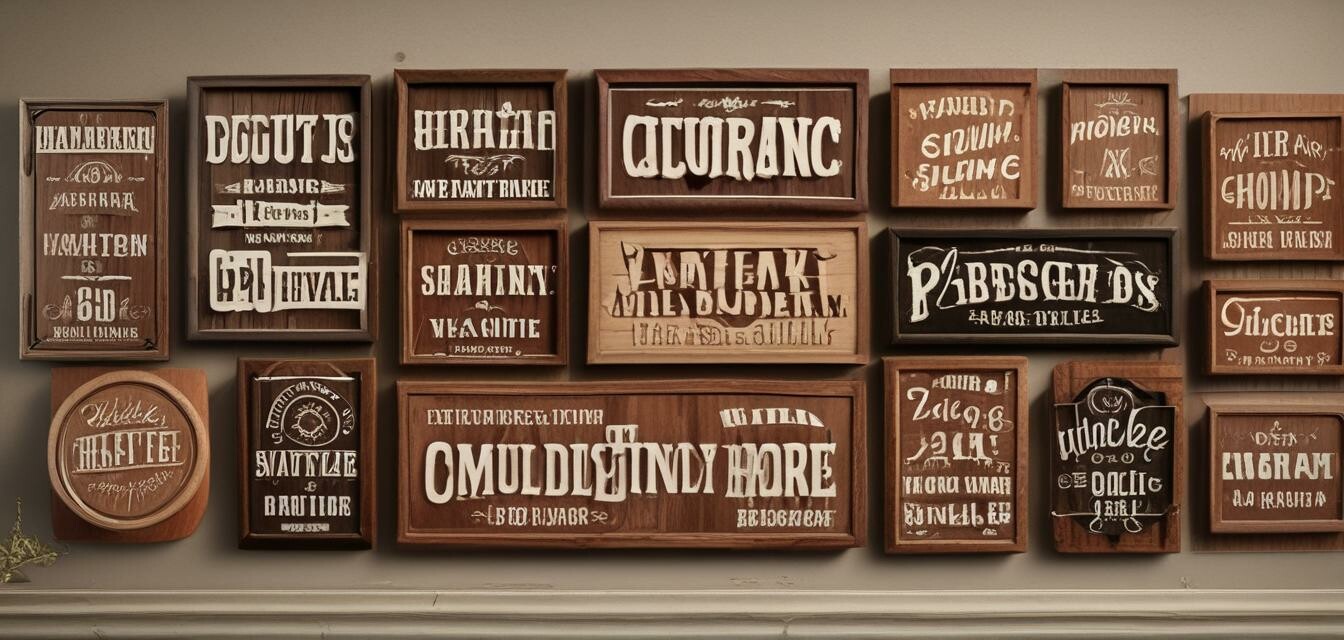
How to Create Custom Wooden Signs
Key Takeaways
- Understand the types of wood suitable for creating signs.
- Choose the right tools and materials for crafting.
- Follow step-by-step instructions for best results.
- Enhance your design using wood finishes and polish.
- Create personalized signs perfect for gifts or home décor.
Creating custom wooden signs is a rewarding DIY project that allows you to personalize your home or create thoughtful gifts for your loved ones. Whether you want to adorn your home with beautiful quotes or create a sign to celebrate a special occasion, this guide will walk you through the necessary steps. With the right tools and some creativity, you can design unique wooden signs that reflect your style.
Materials Needed
- Wood (Plywood, Cedar, or Pine)
- Wood finish (e.g., Howard Products Feed n Wax Wood & Conditioner)
- Paint or wood stain
- Brushes and sponges
- Sandpaper (various grits)
- Stencil or vinyl lettering
- Pencil or chalk for sketching
- Protective gear (mask, gloves)
- Drill or saw
Step-by-Step Instructions
Step 1: Select Your Wood
The first step is to choose the right type of wood for your sign. Here are some popular options:
| Type of Wood | Properties | Best Uses |
|---|---|---|
| Plywood | Affordable and smooth | Indoor signs |
| Cedar | Natural resistance to rot | Outdoor signs |
| Pine | Easy to work with, absorbs stain | Crafts and decor |
Step 2: Prepare the Wood
- Cut the wood to your desired size using a circular saw or jigsaw.
- Sand the edges and surfaces to ensure they are smooth.
- Wipe down the wood to remove dust particles.
Step 3: Design Your Sign
Sketch your design directly onto the wood or use a stencil for precision. You can also use vinyl lettering for a clean look.
Step 4: Paint or Stain the Wood
Apply paint or wood stain to your wood, then allow it to dry thoroughly. For a finished look, consider applying multiple layers.
Step 5: Add the Final Touches
Apply protective wood finish such as Howard Products Feed n Wax Wood & Conditioner to enhance the color and protect your sign. Follow the instructions on the product to ensure proper application.
Howard Products Feed n Wax Wood & Conditioner
Enhance the natural beauty of your wood with this beeswax polish that prevents drying and maintains a restored finish.
Explore NowStep 6: Display Your Sign
Once your sign is completely dry, find the perfect spot in your home or wrap it up as a lovely gift. Whether it's a quote for your living room or a personalized nameplate for someone special, your custom wooden sign is sure to impress!
Additional Tips
- Consider using reclaimed wood for a rustic look.
- Add decorative elements like hooks or embellishments to enhance your design.
- Experiment with colors to match your home décor.
- Try different fonts for lettering to make it unique.
- Use LED lights to illuminate your sign for additional effect.
Conclusion
Creating custom wooden signs is an enjoyable DIY project that allows you to express your creativity and personalize your space. Whether you're a seasoned woodworker or just starting, this project is feasible and fulfilling. Discover more about woodworking and get inspiration for your next project by visiting our DIY Project Ideas section.
Learn More
If you want to expand your woodworking skills, consider checking out our resources like Best woodworking tools for beginners, or explore DIY woodworking project kits for more hands-on ideas.
Pros
- Customizable designs
- Affordable materials
- Great for gifts
- Enhances home decor
- Simple DIY project
Cons
- May require tools if you don't have them
- Time-consuming depending on design complexity
- Requires some artistic skills
- Finishing may need reapplication over time


