Creating a Stylish Wooden Headboard
Key Takeaways
- Designing a wooden headboard enhances your bedroom decor.
- Choosing the right materials and tools is essential for a successful build.
- Step-by-step instructions can help beginners succeed in their woodworking projects.
- Adding personal touches can create a unique and stunning piece for your home.
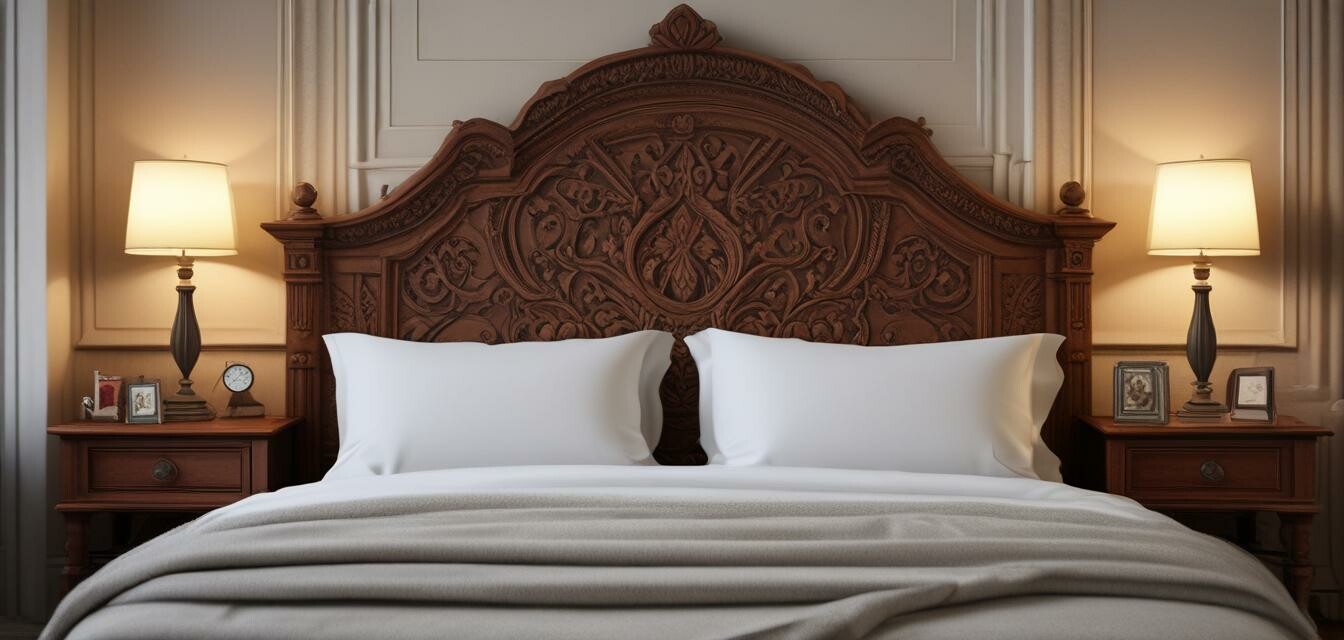
A headboard is not just a functional piece of furniture; it can also serve as a stunning focal point in your bedroom. In this guide, we will walk you through the process of designing and building a stylish wooden headboard that perfectly complements your decor. Whether you prefer a minimalist style or something more ornate, this project is sure to elevate your sleeping space.
Designing Your Headboard
Before you start building, consider the design of your headboard. Think about the following:
- Size: Ensure it fits your bed dimensions.
- Style: Choose between modern, rustic, or traditional designs.
- Material: Select from various wood types such as oak, pine, or walnut based on aesthetics and budget.
Materials Needed
Here is a list of materials you'll need to build your headboard:
- Sheets of plywood or solid wood
- Wood screws
- Wood stain or paint
- Sandpaper
- Wood glue
Tools Required
Having the right tools will ensure a smooth building process. Make sure to have:
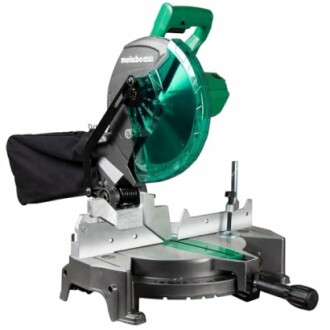
- Power saw (such as the Metabo HPT Compound Miter Saw)
- Drill
- Measuring tape
- Screwdriver
- Clamps
Metabo HPT Compound Miter Saw
A powerful 10" miter saw designed for accurate cuts, perfect for all your woodworking projects.
Learn MoreStep-by-Step Building Process
- Measure and Cut the Wood: Start by measuring the width of your bed and the desired height of your headboard. Cut your wood pieces accordingly.
- Assemble the Frame: Using wood glue and screws, assemble the frame of your headboard. Ensure it is sturdy.
- Sand and Finish: Sand the edges and surfaces of the headboard. Apply your choice of wood stain or paint to achieve your desired look.
- Attach to Wall or Bed: Secure your headboard to the wall or fix it to your bed frame for stability.
Tips for a Clean Finish
Tips for Beginners
- Always measure twice before cutting.
- Wear safety gear when using power tools.
- Take your time with sanding and finishing for the best results.
- Experiment with stencils or patterns for unique designs.
Personal Touches to Consider
Once you've built the basic headboard, consider adding personal touches to make it your own:
- Add shelves for decor or books.
- Incorporate lighting, such as sconces or LED strips.
- Use upholstery or fabric to soften the look.
Showcase Your Completed Headboard
Your new headboard will not only enhance your bedroom decor but also reflect your personal style. Share photos of your creation on social media or woodworking forums for others to be inspired!
Pros
- Beautiful focal point for the bedroom
- Customizable to fit personal style
- Can be built to any size or shape required
Cons
- Requires some woodworking skills
- Time-consuming project
- Initial setup costs for tools
Further Learning and Resources
For more detailed guides and resources on woodworking, check out our related articles:
- Woodworking plans and blueprints
- Woodworking tool maintenance
- Advanced woodworking techniques
- DIY woodworking project kits
- Wood types and their uses
Conclusion
Building a stylish wooden headboard is a rewarding project that can transform your bedroom. By following this guide, you'll be well-equipped to create a piece that is both functional and beautiful. Happy woodworking!


