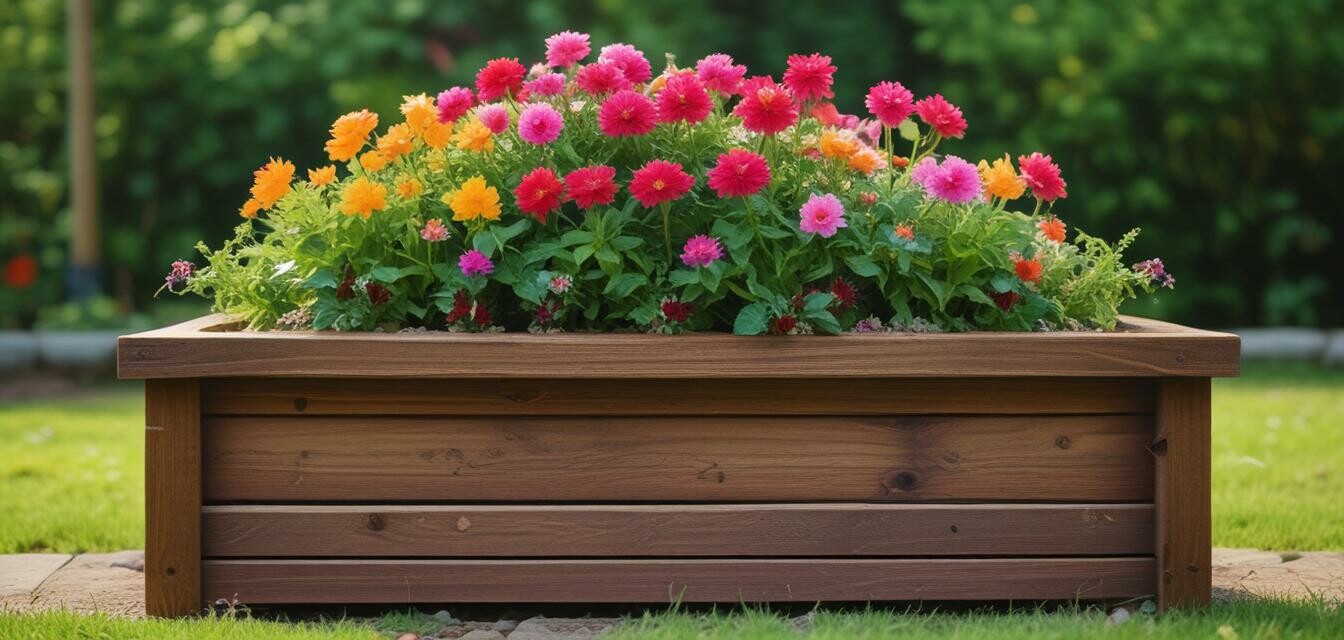
DIY Garden Planters: Crafting with Wood
Key Takeaways
- Wooden planters enhance garden aesthetics and serve as functional decor.
- Crafting your planters allows for personalization in size, shape, and style.
- Selecting the right wood is crucial for durability and weather resistance.
- Essential tools and materials include wooden boards, nails, wood sealant, and paint.
- Step-by-step guidance is available for crafting beginner to advanced planters.
Creating your own wooden garden planters is a rewarding project that can enhance your garden or balcony. Whether you are a seasoned woodworker or a newbie, the joy of crafting something beautiful for your plants is unmatched. Here we will guide you through everything you need to know, from selecting materials to finishing touches.
Why choose wooden planters?
Wooden planters not only provide an excellent home for your plants but also add a rustic charm to your garden. They can be made in various sizes and shapes to fit your space. Plus, crafting them allows you to customize and express your creativity.
Benefits of Wooden Planters
- Natural Insulation: Wood naturally regulates soil temperature.
- Eco-Friendly: Using sustainable wood options benefits the environment.
- Customizable: Easily personalize the look and dimensions to suit your garden.
Materials Needed
Before starting, gather the following materials:
- Wood boards (Cedar is a popular choice)
- Wood screws or nails
- Wood sealant or outdoor paint
- Sandpaper
- Wood stain (optional)
- Measuring tape
- Saw
- Drill
- Safety gear (gloves, goggles)
Step-by-Step Instructions
Follow these steps to create your own wooden garden planter:
Step 1: Design Your Planter
Sketch a design for your planter. Consider the dimensions based on the plants you wish to grow.
Step 2: Measure and Cut the Wood
- Measure the lengths for the sides, bottom, and top of the planter.
- Use a saw to cut the wood to your desired dimensions.
Step 3: Assemble the Base
Start by constructing the base of your planter:
- Join the cut boards together using wood screws or nails.
- Ensure it is sturdy and can handle the weight of soil and plants.
Step 4: Build the Sides
Attach the side boards to the base:
- Securely nail or screw the side boards to the base.
- Check for any gaps or loose fittings before proceeding.
Step 5: Add Drainage Holes
Using a drill, create holes at the bottom of the planter. This ensures excess water drains out, preventing root rot.
Step 6: Finish Your Planter
- Sand the edges and surfaces for a smooth finish.
- Apply wood sealant or stain to protect against weather.
Customizing Your Planters
Feel free to personalize your wooden planters! Here are some ideas:
- Paint with bright colors to match your garden.
- Use stencils to add designs or labels.
- Integrate hooks for hanging plants or decorative items.
Related Tools and Materials
| Product | Description | Link |
|---|---|---|
| 10 Pack 8 Inch Unfinished Natural Wood Circles | Perfect for customizing as decorative bases in your planters. | View Product |
| Handmade Furniture: 21 Classic Woodworking Projects | A fantastic resource for more woodworking projects. | View Product |
Final Thoughts
Crafting your own wooden planters can be a fulfilling experience. With our step-by-step guide, you are well on your way to creating beautiful pieces that will thrive in your garden. Don't forget to get creative and make your planters a true reflection of your style!
Tips for Beginners
- Start with simple designs and gradually move to more complex projects.
- Safety first – always wear appropriate safety gear.
- Don't hesitate to ask for help or look for workshops in your community.
Explore More DIY Projects
For more creative ideas to elevate your woodworking skills, check out our DIY Project Ideas section.
Learn about the various Wood Types and Materials to use in your projects for different aesthetics and durability.
For safety tips, visit our guide on Woodworking Safety Gear.


