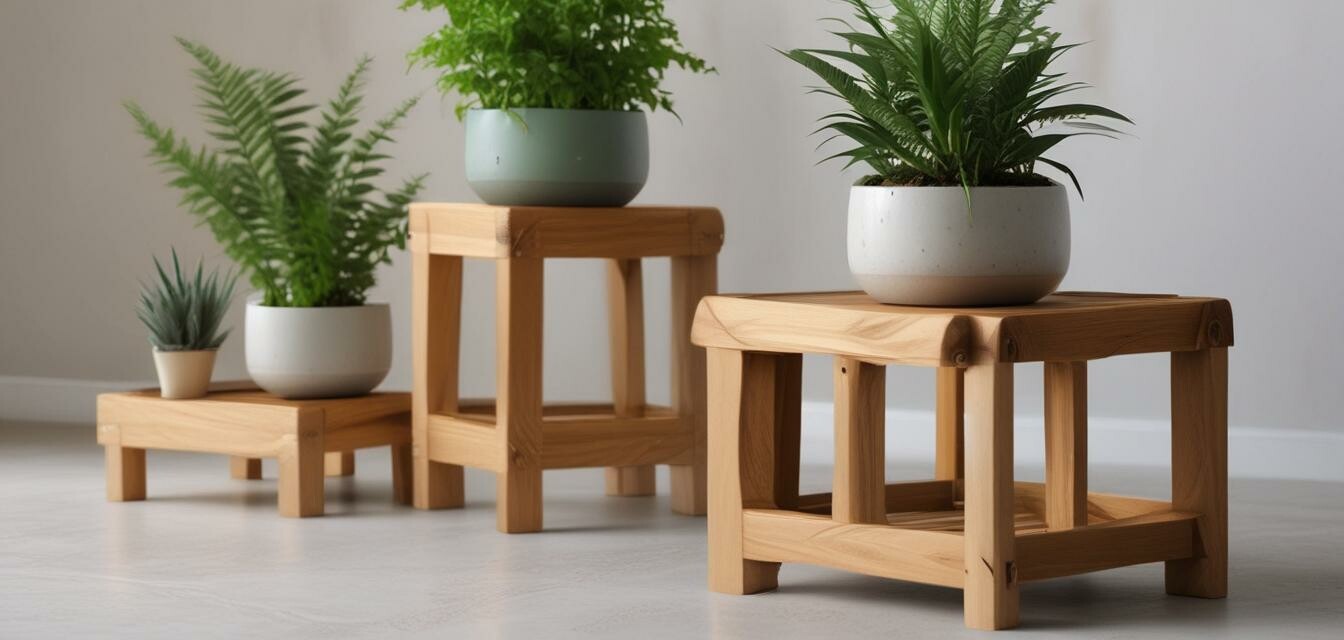
DIY Wooden Plant Stands for Every Home
- Perfect for showcasing plants: Wooden plant stands elevate your greenery.
- Customizable designs: Create stands that match your home decor.
- Simple materials: Using basic woodworking supplies, anyone can build one.
- Beginner-friendly: Step-by-step instructions make this a fun project for anyone!
Learn how to build stylish wooden plant stands that add character to your living space while showcasing your favorite plants. Whether you prefer minimalist designs or intricate styles, we will guide you through the process of creating beautiful stands that will compliment any decor.
Why Choose Wooden Plant Stands?
Wooden plant stands not only provide a stunning display for your plants but also enhance the overall aesthetics of your room. They're versatile and can be styled to fit your personal taste. Here are some reasons to consider adding a wooden plant stand to your home:
- Provides height and dimension to your plant displays.
- Wood complements various home styles, from rustic to modern.
- Doubles as a decorative piece in your living space.
- Durable and sustainable material that ages beautifully.
Choosing the Right Plants
Before you start building, consider what types of plants you'll be showcasing. Here’s a list of popular indoor plants that work beautifully on wooden stands:
- Spider Plant
- Pothos
- Peace Lily
- Succulents
- Fiddle Leaf Fig
Tools and Materials Needed
Here’s a simple list of the tools and materials you’ll need for your DIY wooden plant stand project:
| Tool/Material | Purpose |
|---|---|
| Wood (Pine, Cedar) | Base structure for the plant stand |
| Wood screws | To join the pieces together |
| Wood finish or paint | To protect and beautify the wood |
| Drill | For creating holes for screws |
| Saw | To cut wood to desired sizes |
| Sandpaper | To smooth the edges and surface |
Building Your Wooden Plant Stand
Now that you have everything you need, let’s dive into the step-by-step process of creating your plant stand!
Step 1: Measure and Cut the Wood
Start by designing your stand, keeping in mind the height and width needed for your plants. Measure and cut your wood pieces accordingly.
Step 2: Assemble the Base
Join the cut pieces using wood screws to form the base. Ensure it is sturdy enough to hold your plants' weight.
Step 3: Add the Legs
Attach the legs to your base. This is where you can really get creative with different styles—consider A-frame legs or simple straight legs.
Step 4: Finishing Touches
Smooth the entire piece with sandpaper, then apply your choice of wood finish or paint. Allow it to dry fully before placing your plants.
Styling Your Plant Stand
Once your stand is complete, it's time to style it! Here are some tips for arranging your plants:
- Vary the heights and sizes of your plants for visual interest.
- Add decorative pots that reflect your personal style.
- Consider adding a trailing plant that drapes down for a soft look.
Product Recommendations
To enhance your woodworking skills and make your projects easier, here are two must-have products:
Saker Contour Gauge (10 Inch Lock)
This versatile tool is perfect for accurately measuring and duplicating irregular shapes, making it invaluable for any woodworking project.
Learn MoreFurther Reading
If you're interested in diving deeper into woodworking techniques, check out these related resources:
- Woodworking Plans and Blueprints
- Wood Types and Their Uses
- Finishing and Staining Wood Projects
- Woodworking Tool Maintenance
- Buying Guides for Woodworking Tools
Conclusion
Building your own wooden plant stands can a rewarding DIY project, adding character to your home while showcasing your favorite plants. With just a few materials and some creativity, you can create unique stands that reflect your personal style. We encourage you to take on this fun challenge and let your woodworking skills shine!
Additional Resources
If you’re looking for further guidance, consider reading Advanced Woodworking Techniques for more intricate designs and ideas.
Understanding Wood Finishing
This comprehensive guide will help you choose and apply the right finish for your woodworking projects, ensuring beautiful results.
Learn More


