Kids’ Wooden Play Equipment: DIY Projects
Key Takeaways
- Create safe, fun, and functional wooden play equipment for children.
- Explore a variety of DIY projects from swings to playhouses.
- Use readily available materials and tools for crafting.
- All projects cater to different skill levels from beginner to expert.
- Customizing designs can make the play equipment unique to your child’s preferences.
Creating wooden play equipment for children is not only rewarding but also allows you to customize the experience to suit your child’s preferences. In this article, we will explore some fun DIY projects that you can undertake to build safe and functional play equipment. Whether you're an experienced woodworker or just starting, there is something for everyone.
Why DIY Wooden Play Equipment?
Wooden play equipment is durable, aesthetically pleasing, and can be designed to fit seamlessly into your yard or garden. In addition, DIY projects allow you to:
- Control safety standards by using high-quality materials.
- Personalize designs to your child's interests.
- Encourage outdoor play and creativity.
Essential Tools and Materials
Before diving into the projects, here’s a list of essential tools and materials needed for most wooden play equipment projects:
| Tools | Materials |
|---|---|
| Measuring tape | Pressure-treated lumber |
| Saw (circular or jigsaw) | Wood screws |
| Drill with bits | Wood glue |
| Sander | Ropes for swings |
| Paintbrush | Wood finish or paint |
Exciting DIY Project Ideas
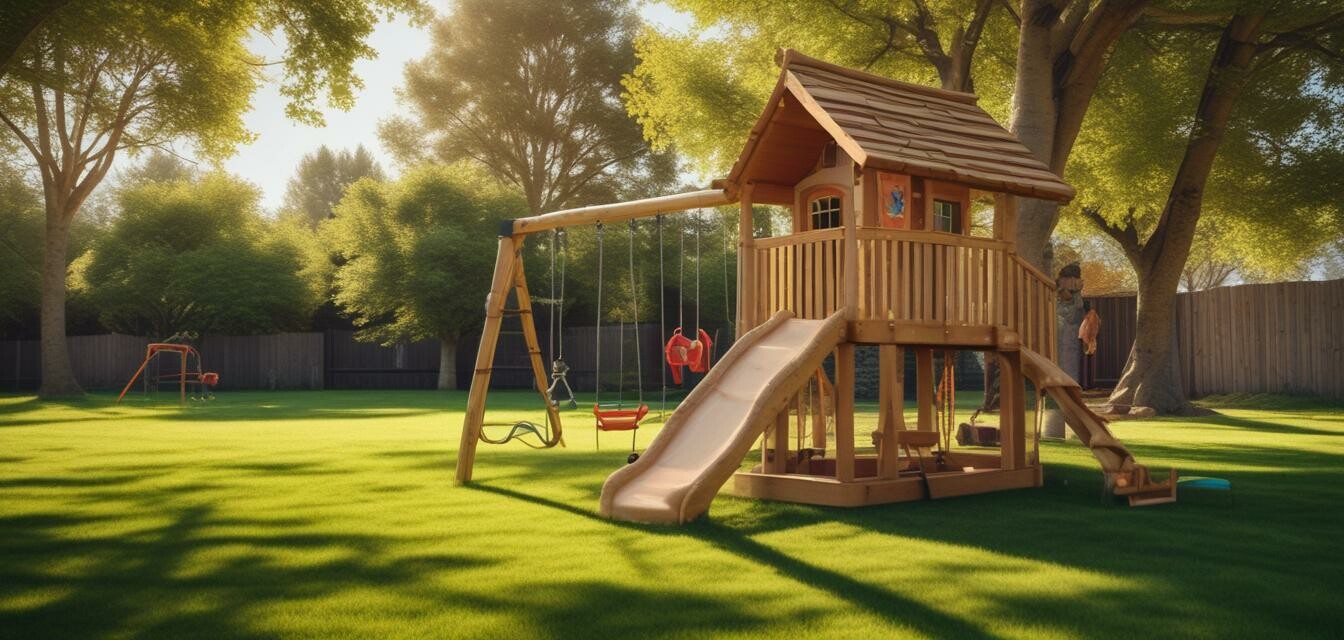
1. Wooden Swing Set
A classic choice for outdoor play, a wooden swing set can provide hours of fun. Follow these steps:
- Choose a sturdy design.
- Measure and cut the lumber to the desired lengths.
- Construct the frame and secure with wood screws.
- Attach swings with strong ropes and enjoy!
2. DIY Wooden Playhouse
Your child’s imagination can run wild in a customized wooden playhouse. Building one can be a comprehensive project, requiring thorough planning:
- Select a blueprint that suits your space.
- Cut the wood into various parts for walls, roof, and flooring.
- Assemble the playhouse using nails and screws.
- Decorate it with paint and other fun accessories.
3. Wooden Slide
Adding a slide to your yard is relatively simple and extremely rewarding. Here’s how you can create one:
- Build a sturdy base for the slide.
- Cut the slide angle into a single piece of plywood.
- Sand down the edges for safety.
- Paint it and attach it securely to the base.
Safety Considerations
Safety is key when crafting wooden play equipment. Here are some tips to keep in mind:
- Ensure all materials are smooth without splinters.
- Use non-toxic finishes and paints.
- Regularly check for loose screws or unstable parts.
More Resources to Explore
For more detailed guidance on woodworking projects, check out:
- Best woodworking tools for beginners
- Woodworking plans and blueprints
- DIY woodworking project kits
- Easy handmade toys & puzzles
- Handmade furniture projects
Recommended Products
Consider these products to help you in your DIY adventures:
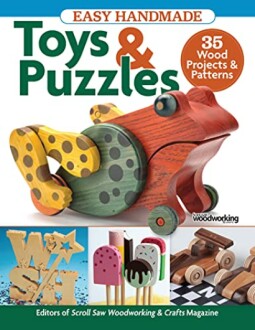
Easy Handmade Toys & Puzzles
A comprehensive guide for beginners featuring 35 wood projects and patterns to create fun toys and puzzles.
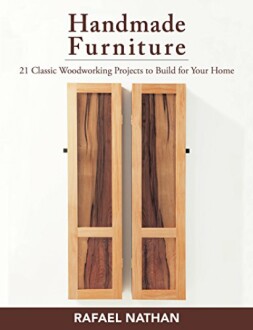
Learn MoreHandmade Furniture
This book showcases 21 classic woodworking projects to enhance your home with stylish, handmade furniture pieces.
Learn MoreConclusion
In summary, creating wooden play equipment for children can be a fulfilling project that maximizes joy and creativity. With appropriate tools, careful planning, and attention to safety, you can create a beautiful and safe play space right in your backyard. So gather your supplies, and let your woodworking adventure begin!


