How to Make Custom Wooden Coasters
Key Takeaways
- Custom wooden coasters are an easy DIY project for all skill levels.
- You can personalize your coasters with designs, colors, and different wood types.
- Essential tools and materials include wood, sandpaper, sealant, and optional decorative elements.
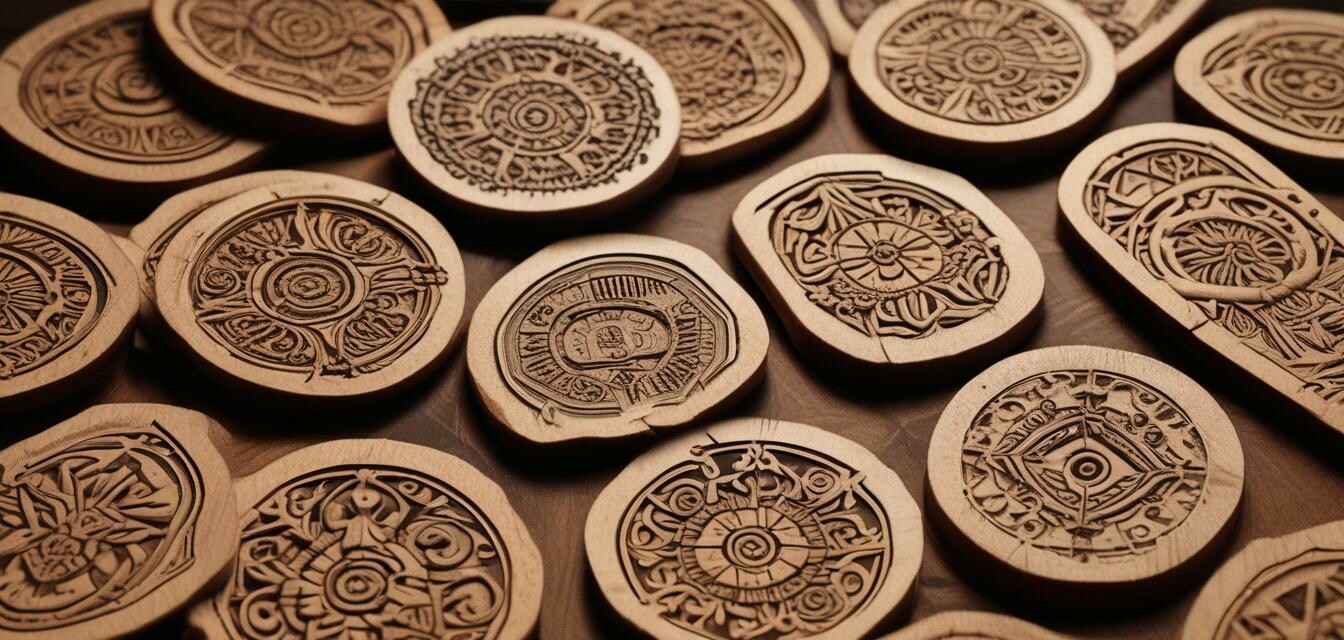
Creating your own custom wooden coasters is a fun and rewarding DIY project that can add a unique touch to your dining table or make thoughtful gifts. In this article, we will guide you through the process of making your own personalized coasters, from selecting the right materials to applying the final finishes.
Materials Needed
Here’s what you’ll need to get started:
- Wood (choose your favorite type such as oak, maple, or walnut)
- Sandpaper (various grits)
- Wood sealer or varnish
- Wood stain or paint (optional)
- Paintbrush (for sealant application)
- Marker or pencil (for designs)
- Coaster templates (if desired)
Tools Required
You'll need the following tools to complete your project:
- Jigsaw or circular saw
- Drill (optional, for hole making)
- Measuring tape or ruler
- Clamps (optional, for holding pieces together)
- Safety gear (gloves, goggles, and dust mask)
Steps to Create Custom Wooden Coasters
Step 1: Prepare the Wood
Choose the wood type for your coasters and cut the pieces to your desired size, generally around 4x4 inches for square coasters. You can use a right angle drill adaptor for precise cuts in tight spaces.
| Wood Type | Characteristics |
|---|---|
| Oak | Durable and strong, with a classic grain pattern. |
| Maple | Light in color, smooth and ideal for painting. |
| Walnut | Rich in color with beautiful, dark tones. |
Step 2: Sand the Edges
Using sandpaper, smooth out the edges and surfaces of the wood to avoid splinters. Start with coarse grit and gradually move to finer grit for a polished finish.
Step 3: Design Your Coasters
Use a pencil to sketch designs on each coaster. You can go for simple shapes or more intricate patterns. If you're not confident in your freehand skills, consider using templates.
Step 4: Add Color and Sealant
If you want to add colors or stains, apply them at this stage. After the color has dried, apply a layer of wood sealer to protect the surface and enhance durability.
To ensure a smooth application, use a paintbrush. A good sealer will protect against spills and moisture.
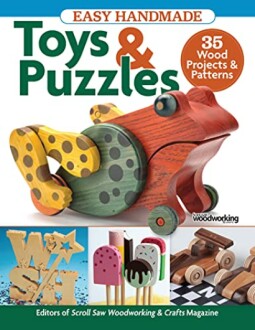
Easy Handmade Toys & Puzzles
A comprehensive guide for beginners with wood projects and patterns that spark creativity and fun in your woodworking journey.
Explore NowStep 5: Final Touches
Once the sealant has dried, give your coasters a final sand if necessary. Let the coasters cure according to the product label. Then, they are ready for use or as gifts!
Tips for Custom Wooden Coasters
Beginner's Tips
- Start with a simple design and work your way to more complex patterns.
- Use scrap wood for practice before cutting your final pieces.
- Don’t rush the sealing process; follow all drying times for best results.
Why Custom Wooden Coasters?
Custom wooden coasters are not just functional items; they are also a way to express your creativity and make your dining area more inviting. With personalized designs, they also serve as excellent conversation starters when hosting guests.
Additional Resources
If you want to dive deeper into woodworking projects, check out these helpful articles:
- Wood Types and Their Uses
- DIY Woodworking Project Kits
- Best Woodworking Tools for Beginners
- Finishing and Staining Wood Projects
- Advanced Woodworking Techniques
Pros
- Personalized touch to your home decor
- Fun and engaging DIY process
- Great gift idea for friends and family
Cons
- Requires some woodworking tools
- Time-consuming for intricate designs
Explore your creativity and enjoy the process of making your own wooden coasters. With this guide, you're well on your way to crafting beautiful and functional décor pieces!


