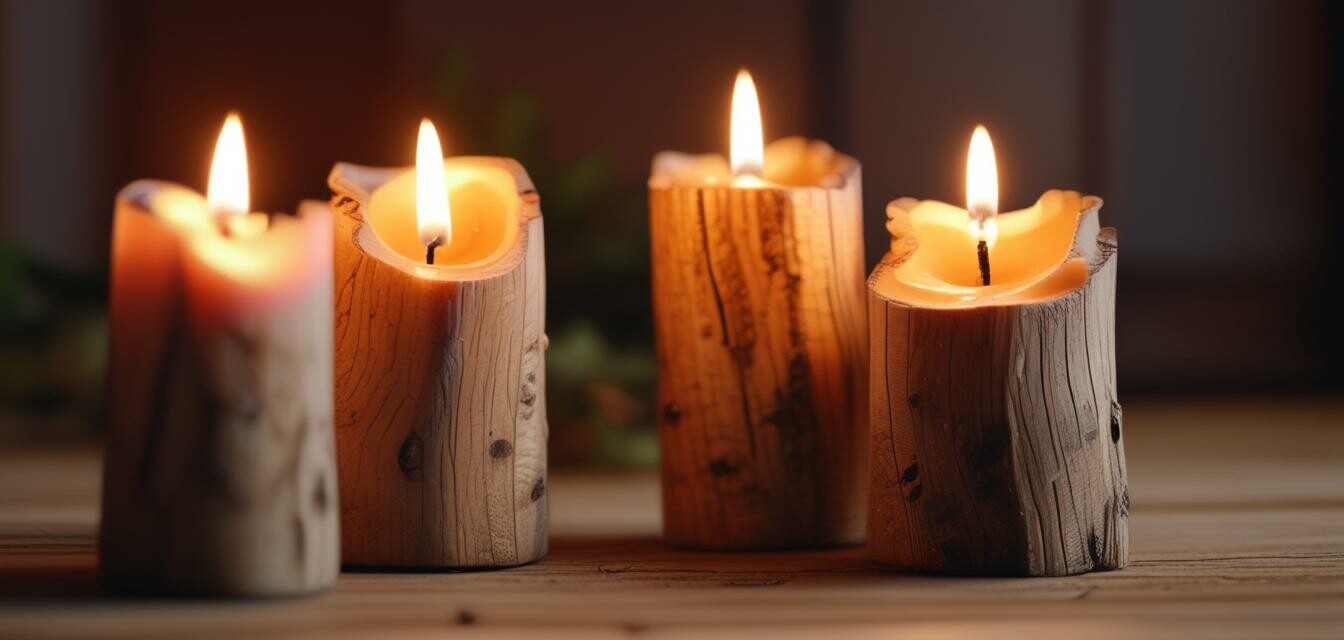
Rustic Wooden Candle Holders: A DIY Guide
Key Takeaways
- Craft your own rustic wooden candle holders to enhance your home decor.
- Use various wood types and finishing techniques to personalize your holders.
- This guide includes necessary tools, steps, and tips for success.
Candle holders can bring a unique charm and warmth to your home. In this DIY guide, we will cover how to create lovely rustic wooden candle holders that not only serve a practical purpose but also add to your decor. This project is suitable for both beginners and intermediate woodworkers, offering opportunities for creativity and personalization.
Materials You Will Need
| Material | Quantity | Description |
|---|---|---|
| Wood (Pine, Cedar, or Oak) | 1-2 pieces | Select wood based on desired look and sturdiness. |
| Candle Sockets | As needed | Holds the candle securely in place. |
| Wood Finish (Stain or Paint) | 1 | For enhancing the appearance and protection of the wood. |
| Wood Glue | 1 bottle | To bond the wooden pieces together. |
| Sandpaper | 1-2 sheets | For smoothing the edges and surfaces. |
| Tools (Saws, Drill, etc.) | As needed | Typical woodworking tools required for cutting and drilling. |
Steps to Create Your Rustic Wooden Candle Holders
- Select Your Wood: Choose wood that resonates with the rustic theme. Pine is often more affordable, whereas oak provides sturdiness.
- Measure and Cut: Based on the design you have in mind, cut the wood into your desired sizes. Make sure to think about the dimensions of your candles.
- Drill Holes for Candle Sockets: Carefully drill holes into the wood to accommodate the candle sockets. Make sure they are deep enough to provide stability.
- Sand the Edges: Use sandpaper to smooth all edges and surfaces, ensuring a comfortable and safe finish.
- Assemble Your Candle Holder: Use wood glue to bond the pieces together. Allow it to dry for the recommended time.
- Finish with Stain or Paint: Apply your chosen wood finish to enhance the beauty of the wood. Allow it to dry completely.
- Insert Your Candle Sockets: Once the finish is dry, place your candle sockets into the drilled holes.
Design Ideas for Rustic Candle Holders
There are endless design possibilities for rustic wooden candle holders. Here are some creative ideas:
- Use reclaimed wood for a more rustic feel.
- Add a decorative twist by incorporating metal or wire into your design.
- Create a multi-tier holder using different heights of wood pieces.
- Paint the candle holders in farmhouse-style colors like white, gray, or pastels.
Recommended Tools for Woodworking
For crafting your candle holders, consider the following tools:
Pros
- Easy to use for all skill levels.
- Offers a unique handmade touch to your decor.
- Provides a great opportunity for creative expression.
Cons
- Requires an initial investment in tools and materials.
- Some may find wood finishing techniques challenging.
FAQs
How long does it take to make these candle holders?
The crafting process may take around 2-3 hours, including drying time for finishes.
Can I use different types of wood?
Absolutely! Different wood types can create unique aesthetics, so feel free to experiment.
Where to Find Additional Resources
If you want to explore more about woodworking or start other projects, check out these resources:
- Woodworking Workshops and Courses
- Woodworking Plans and Blueprints
- DIY Woodworking Project Kits
- Wood Types and Their Uses
- Woodworking Tool Maintenance
Final Thoughts
Creating rustic wooden candle holders is a rewarding process that allows you to combine functionality with creativity. Not only do these candle holders serve to brighten up your space, but they also tell a story of craftsmanship. Whether you choose simple designs or add intricate details, the end result will reflect your artistic touch.
Product Highlight
Easy Handmade Toys & Puzzles
A comprehensive guide filled with 35 wood projects and patterns that cater to beginners to intermediate scrollers, ensuring fun and creativity.
Learn More


